DIY Eczema Skin Salve
- Janhtria Darline
- Dec 23, 2022
- 5 min read

As days get colder, my skin care regime switches from light moisturizers to thicker balms due to the weather changes causing it to become more dry and irritated.
For today's blog, I'll go over how I created a homemade skin balm from simple ingredients, my process, and how I would go about it the next time around!
Table of Contents
Lately, I've been finding myself cycle through different brands of lotions, but with intensive research, I've decided to create my own skin salve. I was inspired when I went to Hawaii and ran out of the travel size lotion I brought, so I purchased a Surfer's Salve, at one of the ABC stores around the block. What I liked about it was that it was made up of natural ingredients such as: olive oil, tea tree oil, lavender, rosemary, and vitamin e oil. Along with that, it smells great; heavy scent from the rosemary and tea tree oil.
Ingredients:
3 oz. of loose leaf Dream Tea, containing: peppermint, chamomile, gotu kola, mugwort, damiana, rosemary, rose petals, and stevia (4 Holistic Sisters).
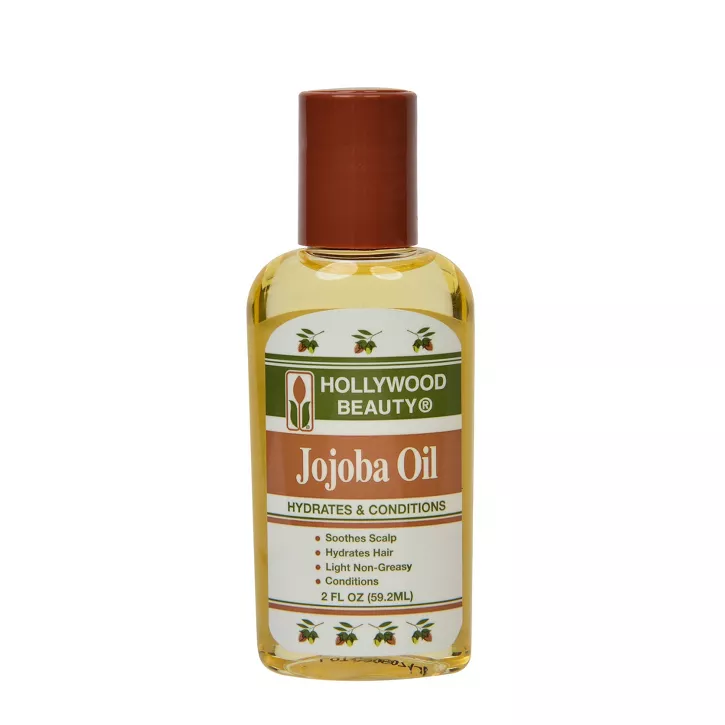
Jojoba Oil (optional, has scent)
1 and 1/4 cups of Beesworks Yellow Beeswax
*Besides the Dream tea, items were purchased from grocery stores. Amazon should have these supplies in stock as well.
Supplies:
(2) Mason Jars
1 large pot
1 medium pot (preferably with handles)
Cheese cloth / thin fabric cloth (for draining)
Electric Whisk
Measuring cup
Chopstick
Process:
Step 1: Steeping.

Pour the loose tea leaves into the jar and then the whole bottle of grape-seed oil on top of it. I added 5 pipet squeezes of rose oil, half a bottle of vitamin e oil, 1 and 1/2 squeeze of jojoba oil (not as much as the others because the jojoba oil I have has a strong fragrance and I didn't want my balm to have that same strong scent).
Once the oils have settled into the leaves, I filled the medium pot up with hot water and added the jar in. Because the jar wasn't fully submerged, I poured water in a large pot and set it to boil. Adding salt will speed up the process as well. Once the water is boiling, I submerse the jar standing up straight so water wouldn't seep into it if it was tilted, or laid on its side inside the pot. I left the jar in the boiling water for the next 15 minutes, and turned off the stove but continued to let it sit in the pot until the water cooled down.
I ended up letting the tea sit in the oils for the next week. On the 7th day, I repeated the same steps of double broiling it again for 15 minutes, but this time I let it sit in the pot for 30 minutes and then I pulled it out and let it sit for an extra 5-10 minutes to cool before draining.
Step 2: Draining.

Grabbing a cheese cloth, put it inside the second jar and pour the loose leaf tea oil into it (I used a Zara shoe pouch and cut it into a triangle so it functions as a funnel). Once all contents are in the cloth, I squeezed out as much oil I could from it, and then left it on top of first jar to let it continue draining. Then I go back to the large pot, and turn the stove on medium-high, starting up the boiling process again. I pour the oil from the second jar into the medium pot, set it on top of large pot. The steam from the large pot will be hot enough to heat up the medium pot. Continue to let the loose leaf drain in the jar (it may take some times but after a couple of minutes it filled 1/4 of the jar, which is a lot of skin salve goodness!).
Step 3: Adding beeswax

Now, the medium with the oil should be hot. Pour 1/4 cup of beeswax into the mixture and stir. Occasionally pull the chopstick out, wait for the oil and wax to cool and see that consistency you like it. Continue to pour the remaining beeswax in 1/4 cup increments and stir. *For a firmer, balm-like texture, add more beeswax (an additional cup and a half).
Turn off the stove, and take the second pot off the heat. Pour any remainder of the drained oil from the cheese cloth into the mixture. Then, I let it cool on the counter for 15 minutes before putting it in the fridge for an hour and 30 minutes, while checking up on it every 30 minutes.
Once time has passed and the golden brown liquid has cooled into a whiteish brown color and feels like a solid once you poke your finger through it, now is time to whip it! I used an electric hand whisk and whipped it on medium high and whipped it to the consistency I liked. Then I transferred it into a glass container and put it in the fridge overnight so it is able to set.
Thoughts
Overall, I was very pleased with the outcome of the salve. I ended up making two separate batches, one with 1 and 1/4 cups of beeswax, and the second batch had an additional half cup added to it. Although I poured the beeswax in on the second batch that was warm, I realized it needed to be hot in order for it to melt fully. By the time it was chilled and cooled down, the beeswax was partially in its solid form, making the salve feel like some type of exfoliate when applied. I would change a couple things such as how much beeswax to add, and experiment with other teas that have other health benefits. This actually makes me more excited to look into Eastern medicine.
Things I learned
Beeswax takes a while to melt, be patient. When pouring the beeswax, continue to keep it on the double-broiler and only take it off once everything is melted. Also, give time for the oil to cool before whipping it. Whipping the oil before it has fully cooled down allows it to warm up due to room temperature so whipping it when it's warm just makes it turn into mush instead of giving nice whipped peaks.
Things I'd do differently
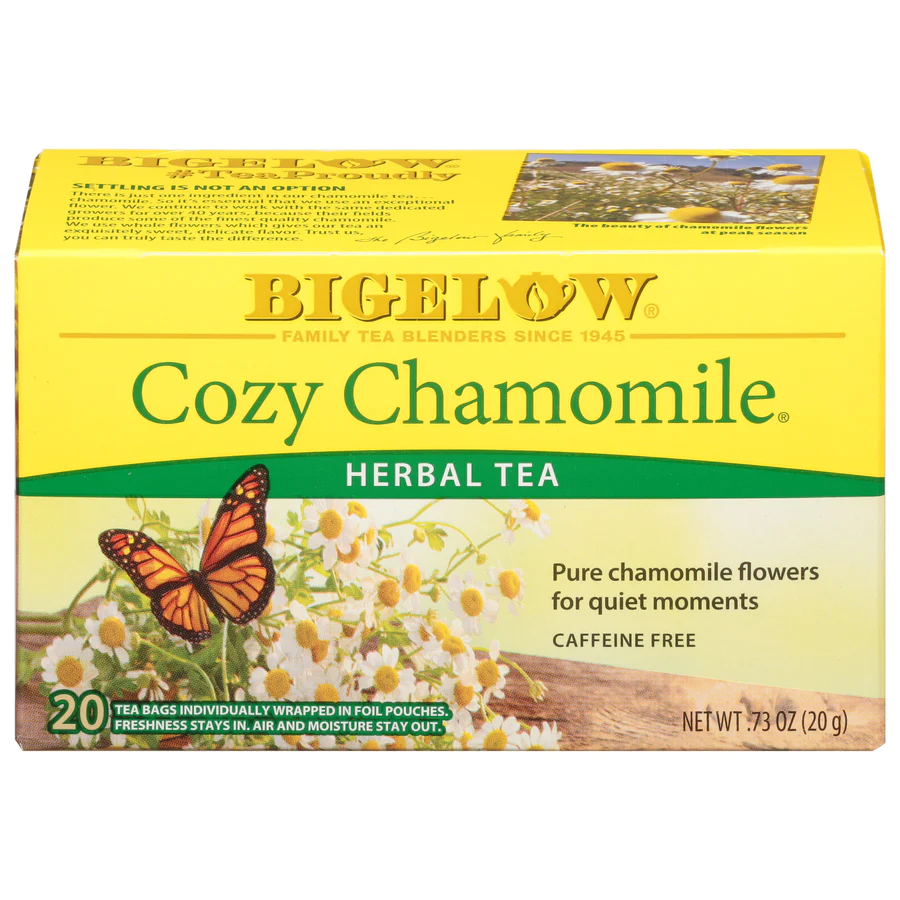
Less chamomile and jojoba oil. I already knew that chamomile makes you sleepy, but once I added the additional box of chamomile, the salve put me to sleep immediately. In some ways, it was good because I am a night-showerer, so applying the sleepy salve allowed me to get good rest.
Another thing that I forgot was the mugwort in the tea mix. Initially when I got the tea, I was interested in lucid dreaming and connecting with my spiritual guides (there was a lot that was going on last year...). Around that time, my dreams were a bit more visual but there wasn't anything that stood out, so when I added into the oil mixture, the thought of adding lucid dreaming-induced ingredients totally went over my head. The past three weeks of me applying the lotion of my skin, I've had so many strong and vivid dreams, to the point that I had to take a break from applying it at night time because it frightened me. They weren't nightmares, but just... didn't make me sound asleep as I intended. There's more that I can go into, but maybe in the future.
I would get similar tea ingredients if I wanted a sleepy-time salve, but maybe take out the mugwort for that deep rest.


Comentarios